🔥🧊
Hot and Cold Pack Use and Hacks
Whether you’re dealing with a stiff neck, sore muscles, or a fresh sprain, hot and cold packs are simple, effective tools for fast, at-home relief. They’ve stood the test of time — but using them properly is key to getting the most benefit and avoiding injury. In this guide, we’ll walk you through safe, smart, and even a few clever ways to use heat and cold effectively.
🔥 Heat Therapy: When and Why to Use It
Heat helps:
- Increase blood flow to an area
- Relax tight muscles and ease spasms
- Reduce joint stiffness
Best used for:
- Chronic muscle tension or stiffness
- Arthritis and joint aches
- Menstrual cramps
- Old injuries (after the acute phase)
- Before stretching or physical activity to warm up tissues
Avoid heat therapy if:
- The injury is new (within the first 48 hours)
- There is swelling, bleeding, or bruising
- You have decreased sensation in the area
- The skin is broken, infected, or very thin
🔥 How to Use Heat Safely
Use moist heat when possible
Moist heat (like a damp towel or microwaveable pack) penetrates better and reduces the risk of overheating the skin.
Set a timer — 20 minutes per application
- Prolonged heat can cause burns or worsen inflammation
- Use at intervals with breaks between sessions
- You can use hot packs for 20 minutes each hour up to 20 minutes on and 20 minutes off but skin must return to the normal temperature in between applications.
Always check the temperature first
- Test it on your wrist — it should feel warm, not hot
- Never use heat that’s uncomfortably hot or causes skin redness
Use a barrier with electric heating pads
- Never place directly on bare skin
- Don’t lie on top of it — that increases burn risk
Don’t fall asleep with heat on
- Especially with electric pads or hot water bottles
- Set a timer or use auto-shutoff devices
🔥 Heat Pack Hacks You’ll Love
DIY Moist Heat Pack
- Fill a clean knee length sock with uncooked rice or lentils, knot the end, and microwave for 1 to 1-1/2 minutes
- Add a drop of essential oil (like lavender) for relaxation
- Always check the temperature before applying
Towel Trick
- Wet a towel, wring it out, and microwave it in a zip-top bag for a simple moist heat pack
- OR saturate a towel in hot water and wring it out
- Wrap in another dry towel to prevent burns
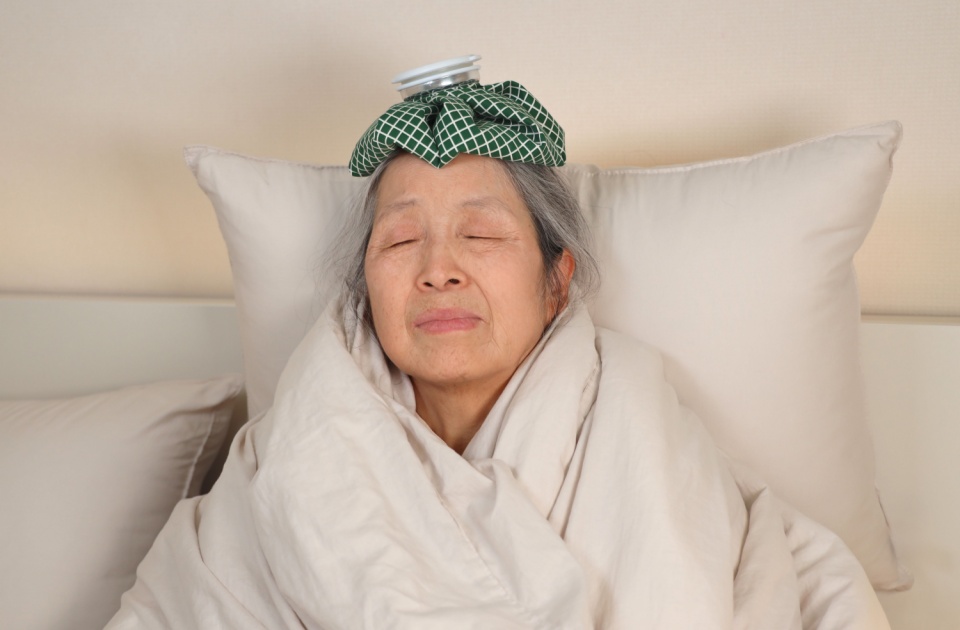
🔥Safety Tips for Special Populations
- Older adults: Use lower temperatures, extra padding, and shorter durations
- People with diabetes or neuropathy: Reduced sensation = higher burn risk. Use only under medical supervision
🔥 Heat Therapy Cheat Sheet
| ✅ Do | ❌ Don’t |
| Use for tight muscles or stiffness | Use on new injuries or swelling |
| Limit to 15–20 minutes | Fall asleep with heat applied |
| Use a barrier | Apply directly to bare skin |
| Moist heat preferred | Ignore discomfort or skin redness |
🔥 Benefits of Heat Therapy
Pain Relief for Chronic Conditions
- Heat soothes sore joints and muscles, especially in arthritis
- Studies confirm short-term pain relief in chronic low back pain and osteoarthritis
Stress and Tension Reduction
- Warmth calms the nervous system, promotes relaxation, and reduces muscle guarding
Post-Exercise Recovery
- Moist heat applied post-exercise may help reduce stiffness and improve circulation
🔥 Limitations and Considerations
- Not for acute injuries
Heat can worsen swelling and bleeding if applied too early - May dry out skin
Especially with repeated dry heat use—moist heat is gentler - Burn risk is real
Never exceed 20 minutes and always monitor skin response
🧊 Cold Therapy: When and Why to Use It
Cold helps:
- Numb pain by slowing nerve signals
- Reduce swelling and inflammation
- Minimize bleeding (especially right after an injury)
Use cold packs for:
- Acute injuries (within the first 24–72 hours): sprains, strains, bruises
- Post-surgery or dental procedures
- Minor burns (unbroken skin)
- Headaches or migraines
- Joint flare-ups from arthritis or gout
Avoid cold therapy if you have:
- Poor circulation or vascular issues
- Cold hypersensitivity (e.g., Raynaud’s Disease)
- Open wounds or infected areas (unless directed by a healthcare provider)
🧊 How to Use a Cold Pack Safely
Always use a barrier:
- Wrap the cold pack in a thin towel or cloth. Direct skin contact can cause frostbite.
Limit to 20 minutes at a time:
- You can use cold packs for 20 minutes each hour up to 20 minutes on and 20 minutes off but skin must return to the normal temperature in between applications.
- Use a timer! Prolonged exposure can damage skin or nerves.
Elevate the area if possible:
- Helps reduce swelling more efficiently.
Check your skin after use:
- STOP if skin turns very red, pale, or numb.
Never fall asleep with a cold pack on:
- This is a common cause of skin injury.
🧊 Cold Pack Hacks You’ll Love
DIY Cold Packs
- Mix 1 part rubbing alcohol with 2 parts water in a zip-top bag, freeze. It stays slushy and flexible. Tip: Remove air, double-bag it, and always use a barrier.
- A bag of frozen peas or corn also works—just label it “not for eating.”
Keep extras ready
- Rotate a few packs in the freezer so one is always available, especially useful after surgery or during sports seasons.
Use with a compression wrap
- Keeps the pack in place and adds gentle pressure—ideal for joints. Tip: my favorite compression wrap is the Nylatex Wrap. It is durable and convenient.
🧊 Safety Tips for Special Populations
- Older Adults: Skin may be thinner—use extra padding and check frequently.
- People with Diabetes or Neuropathy: Reduced sensation increases risk. Use only with medical advice.
🧊 Cold Therapy Cheat Sheet
| ✅ Do | ❌ Don’t |
| Use a cloth barrier | Place directly on skin |
| Limit to 20 minutes | Fall asleep with it on |
| Check skin frequently | Use on open wounds |
| Use after injury or exercise | Ignore numbness or tingling |
🧊 Benefits of Cold Packs
Pain Relief
- Cold slows nerve signal transmission.
- Supported by numerous studies for acute injuries and post-op care.
Swelling and Inflammation
- Cold causes vasoconstriction, reducing blood flow and swelling—especially useful in the first 72 hours.
Post-Surgical Recovery
- Commonly used after orthopedic surgeries (e.g., knee replacement).
- Research supports modest pain relief and reduced need for medication.
Delayed Onset Muscle Soreness (DOMS)
- Some evidence shows cold may reduce soreness after intense exercise, though results are mixed. Tip: Give it a try and see if it works for you.
🧊 Limitations and Considerations
Cold is best for recent injuries
- It’s most effective in the first 72 hours after trauma or surgery.
Limited benefit for chronic pain
- May feel good temporarily but doesn’t address underlying causes.
Risk of skin or nerve damage
- Overuse or improper application (e.g., direct ice contact) can be harmful.
🔥🧊 Listen to Your Body and Use with Care
Hot and cold packs are time-tested tools that offer simple, effective relief right at home—when used wisely. Heat is your go-to for chronic stiffness and muscle tension, while cold is best for new injuries and inflammation. Remember to always check skin safety, limit application time, and tailor use based on your age, health conditions, and how your body responds. With a little know-how (and maybe a DIY hack or two), you can warm it up or chill it out with confidence.
Be Active Be Well
We provide in-home consultations in the San Francisco Bay Area. Contact us for a personalized Physical Therapy, Occupational Therapy, or Speech Therapy assessment in the San Francisco Bay Area: Santa Clara, San Mateo, San Francisco, and Marin Counties.
Joanne Bedwell, PT, is the Resident Blogger at Be Active Be Well. Based in San Francisco, she lives with her husband and two nearly grown daughters. With over 25 years of experience as a physical therapist, she provides in-home client care and teaches fitness classes both in person and online.
DISCLAIMER: This article contains information that is intended to help the readers be better informed regarding health care issues. It is presented as general advice on health care and is not intended to be a substitute for the medical advice of a licensed physician. The reader should consult with their doctor in any matters relating to his/her health.